Gallery

Work in Progress- Fairy House- Adding the Flowers, Dragon, and Finishing Touches

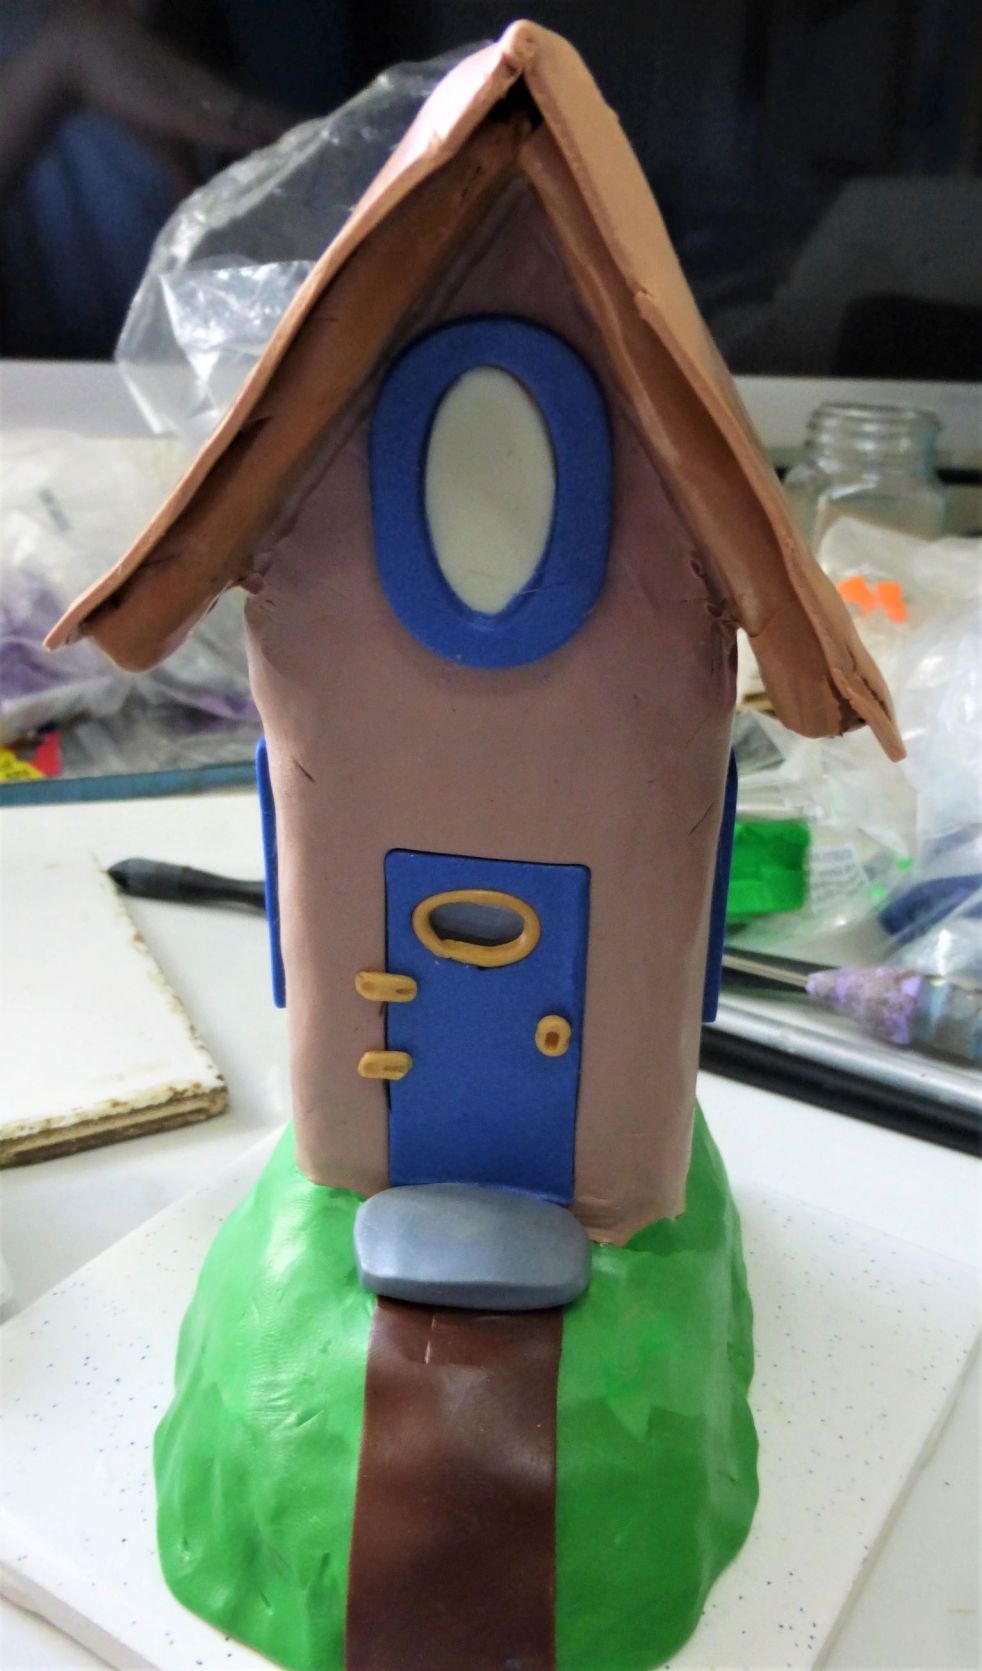
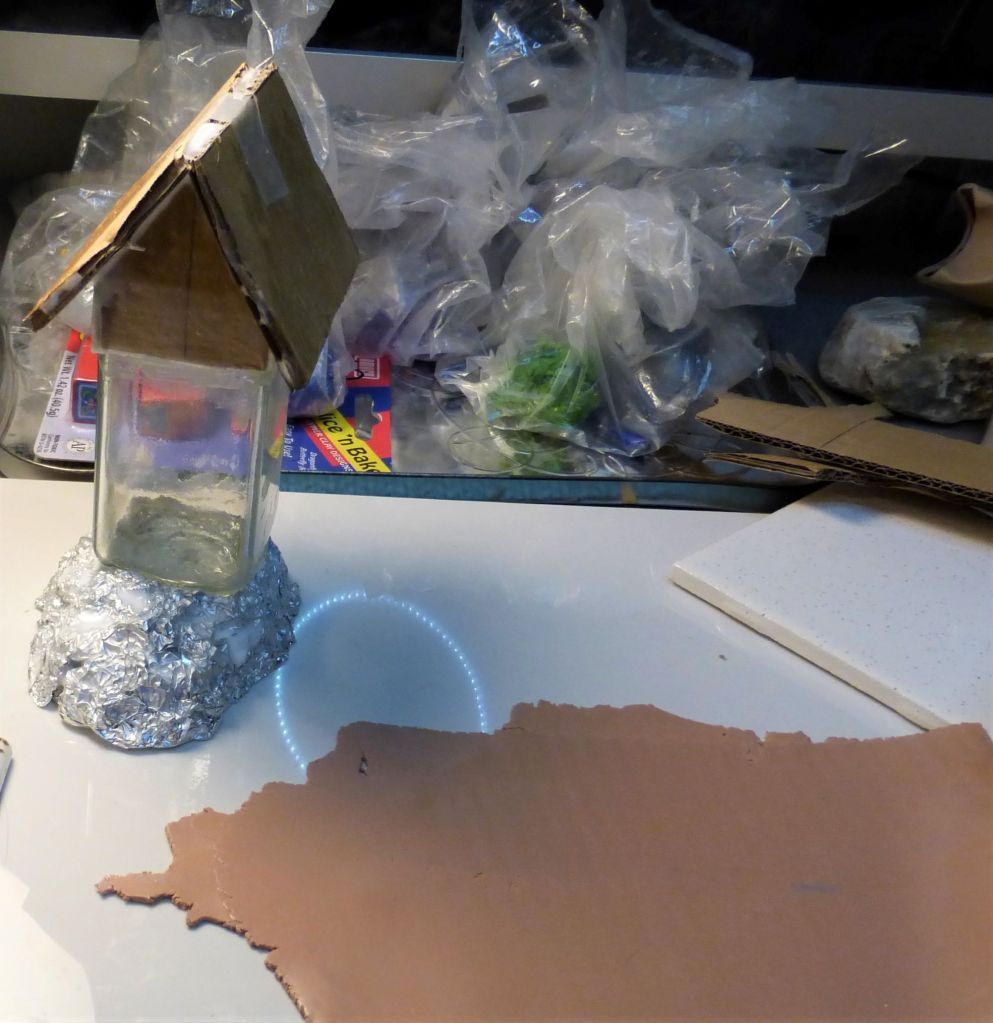
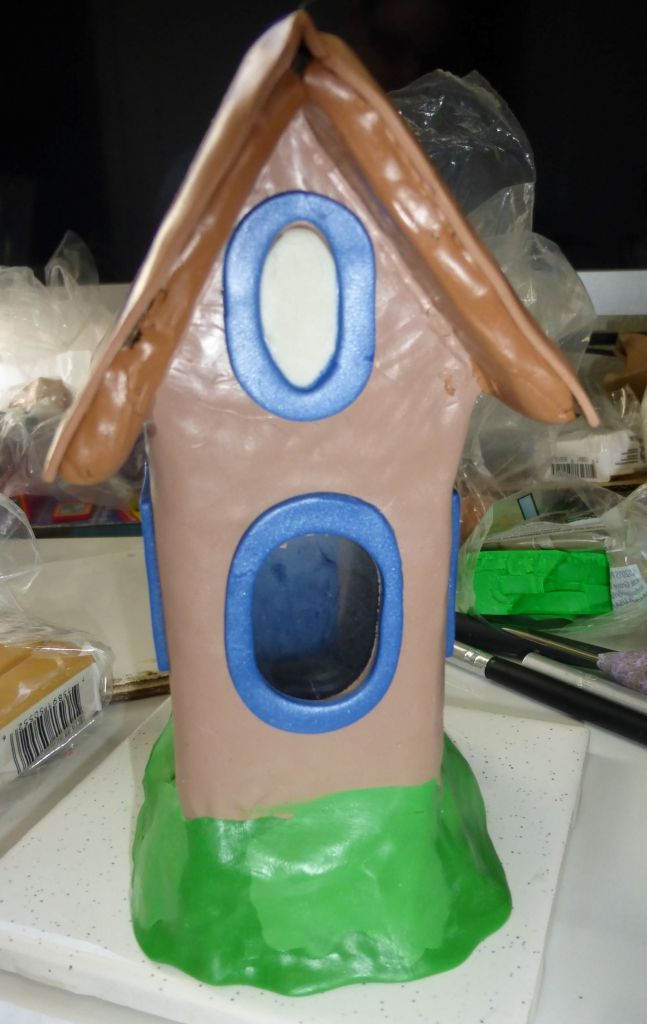
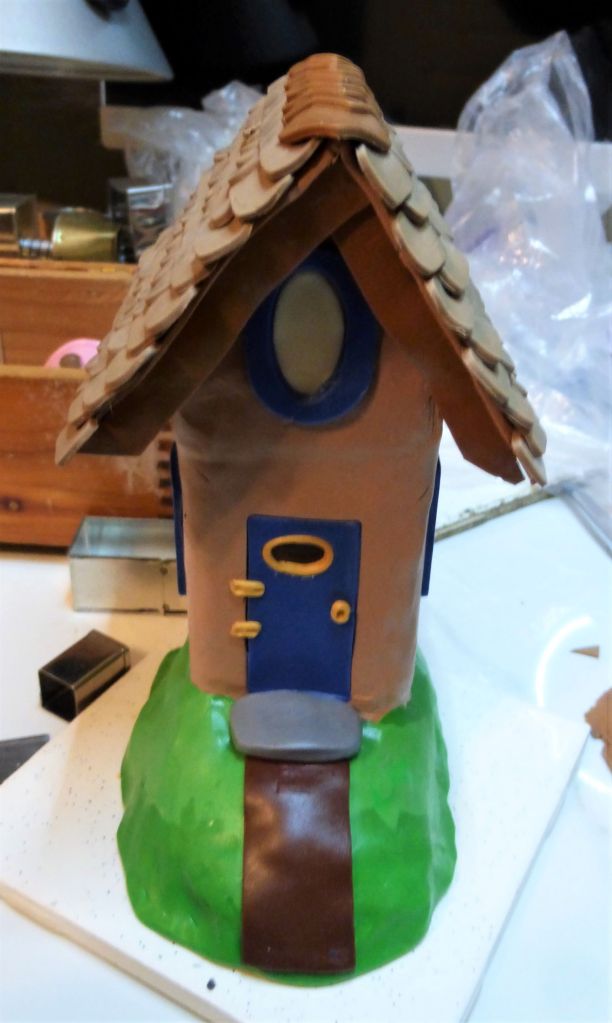
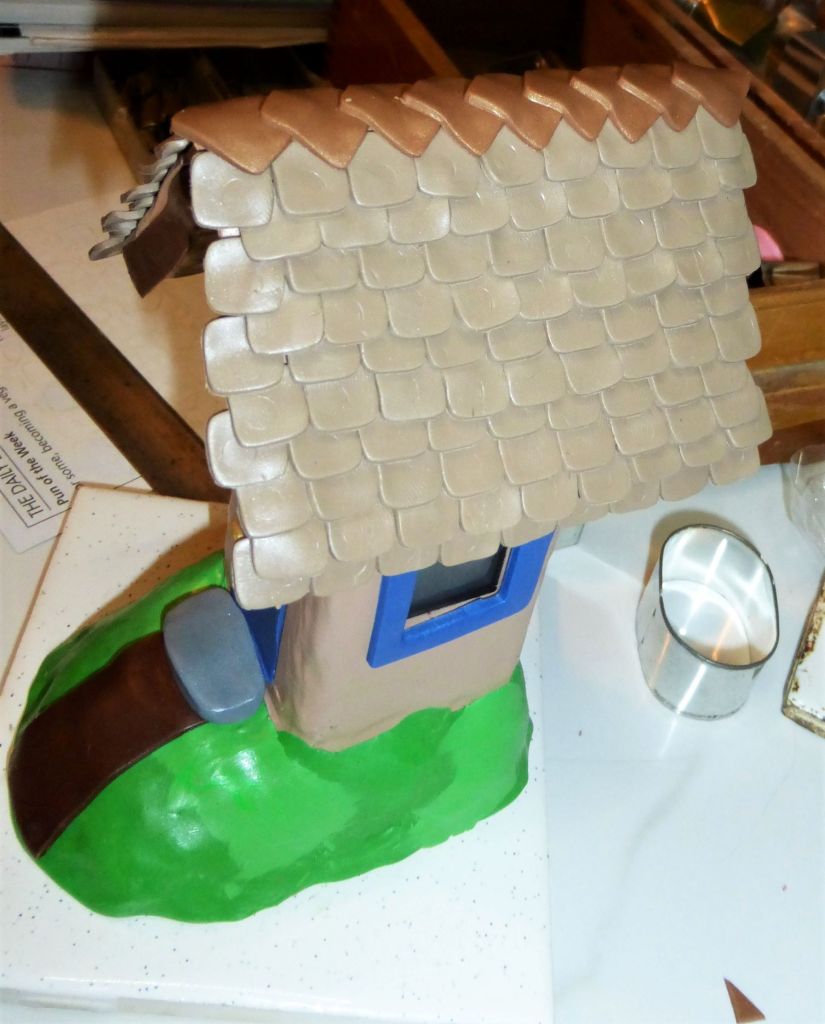
I’ve completed all the landscaping and fun finishing touches on my fairy house and it’s ready to be baked. All of this was sculpted by hand using Premo polymer clay. You can check out this post to see how this project started.

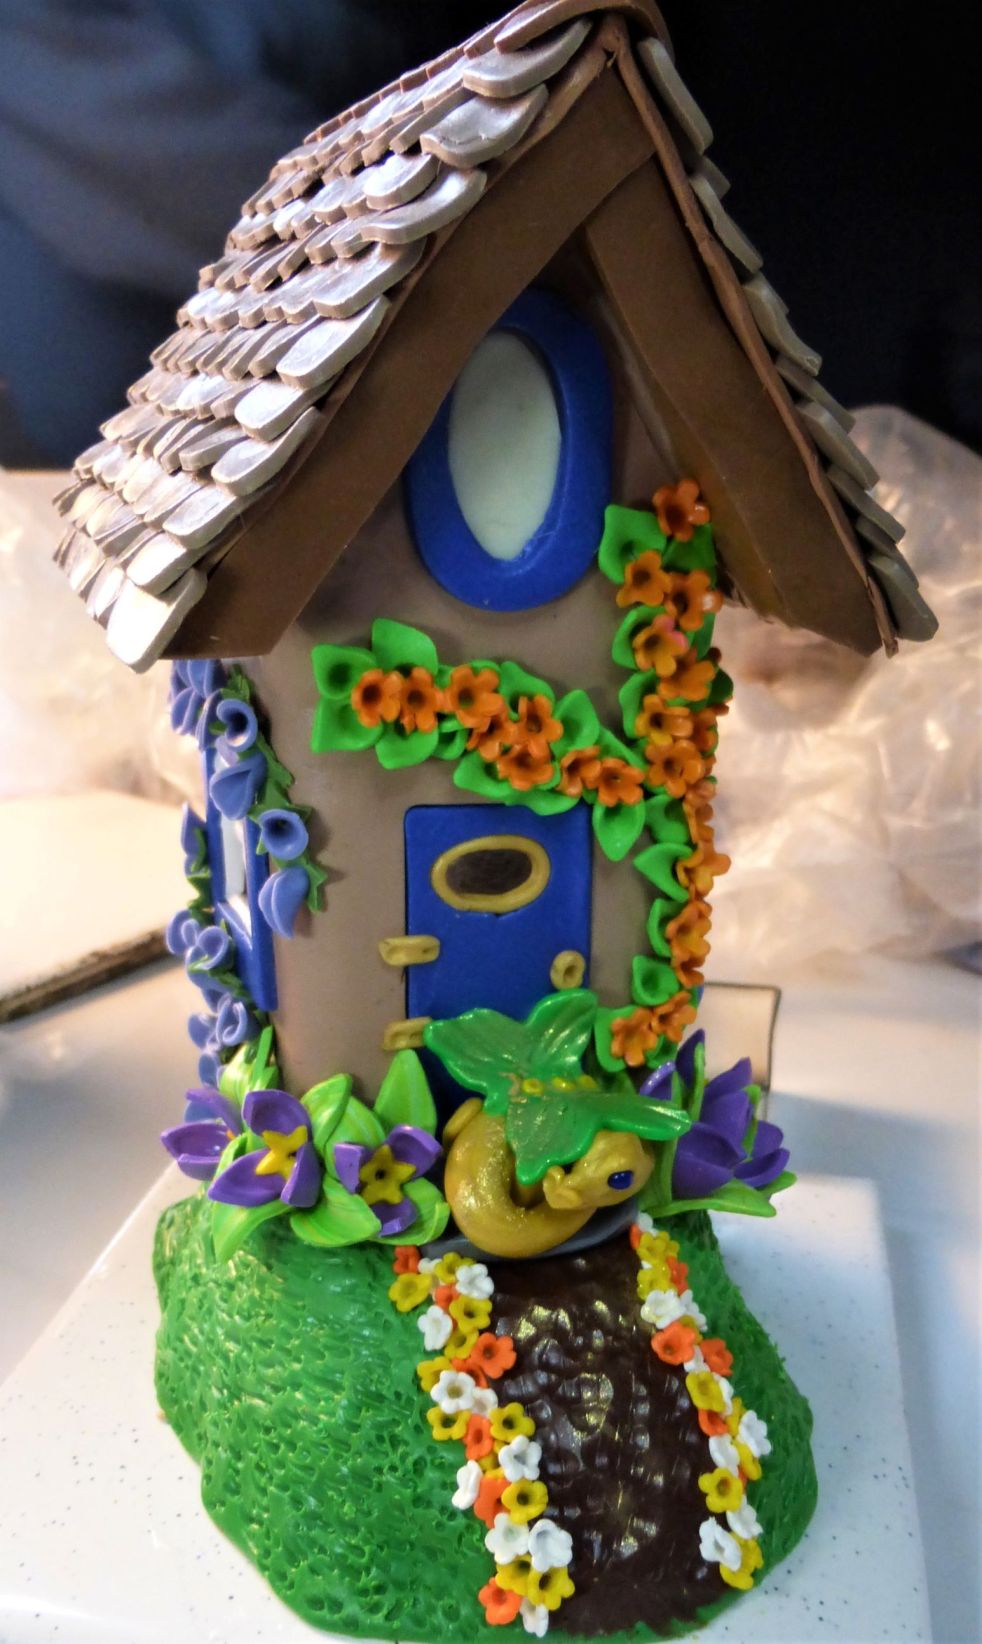
Naturally I had to add a little dragon to the front step of the house 😉 I used tiny blue beads for the dragon’s eyes and gave her green butterfly wings. I dusted the dragon’s back with gold Pearl Ex powder for a magical shimmer. She even left some magic dust on the path to the front door 🙂 I added tiny orange, yellow, and white flowers along the edges of the path. I also planted some pretty purple and yellow flowers with variegated leaves on both sides of the door.

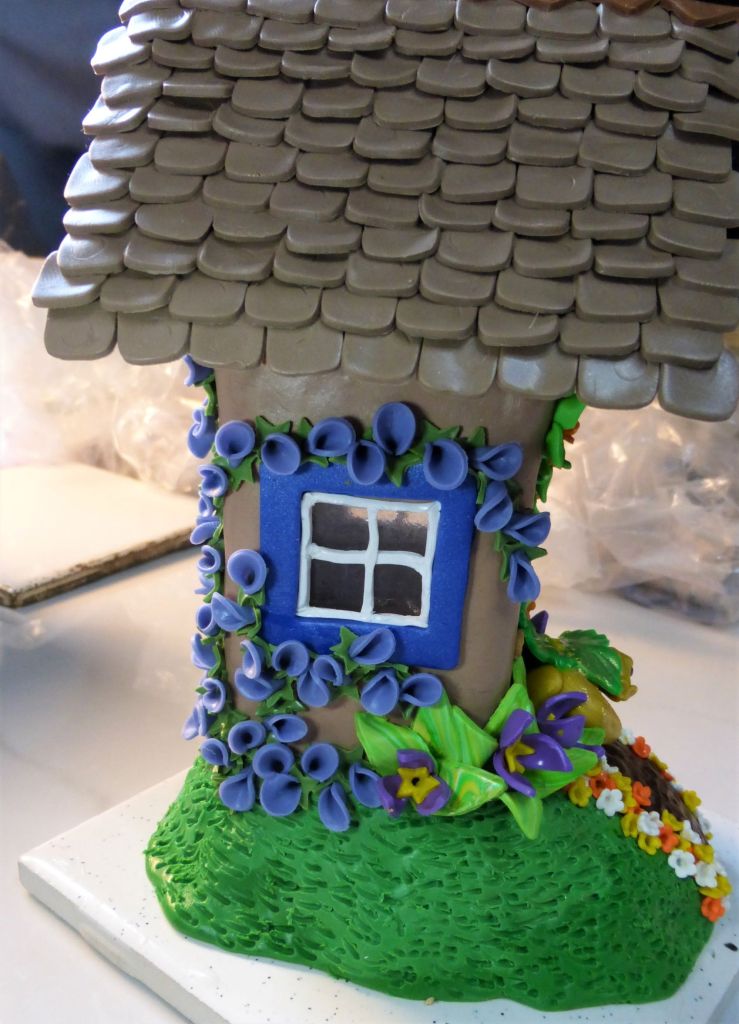
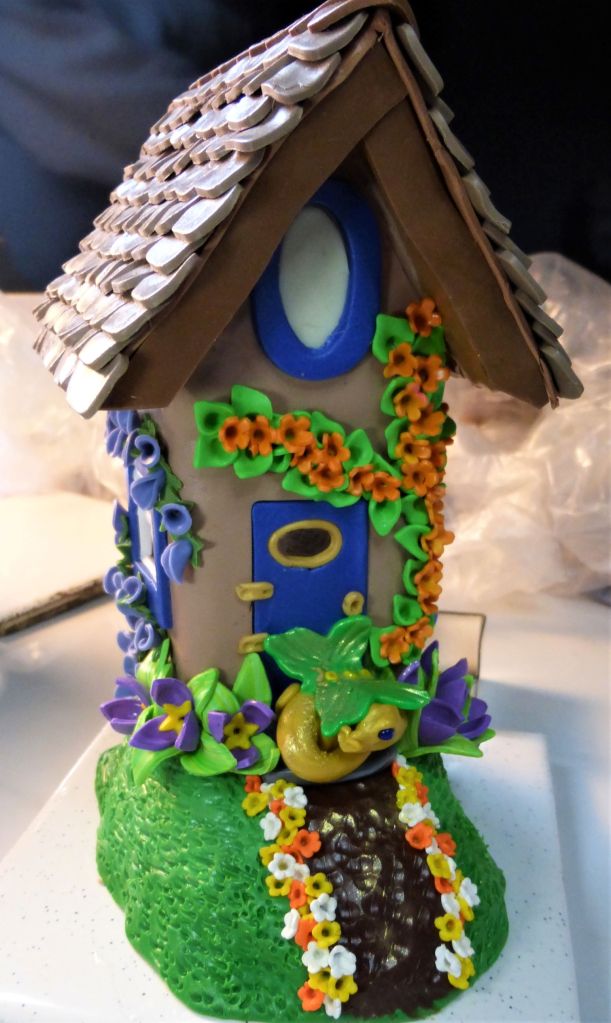
Climbing purple flowers grow around the back and sides of the house. And I added white window panes to really set off the blue frames.

Here’s the back of the house, covered in climbing purple flowers,

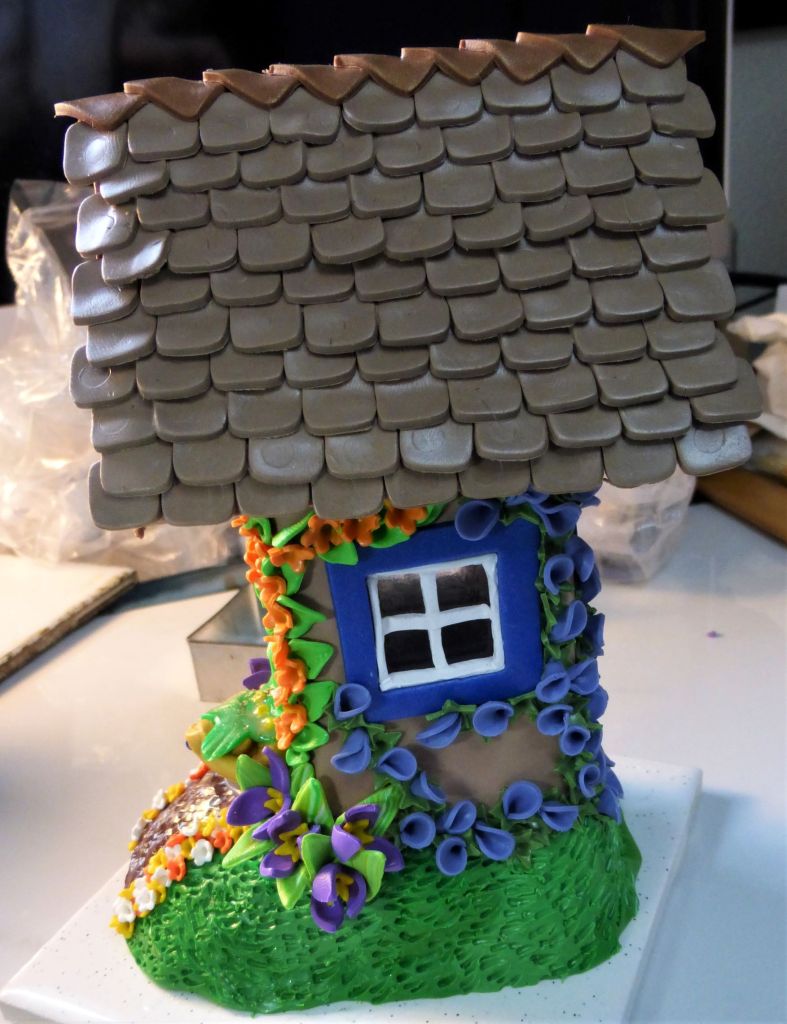
And more of those purple flowers, along with some orange flowers climbing the front and side of the house.

So that’s basically it for this one. I’ll bake it, glaze the dragon (to protect the Pearl Ex powders), and get it listed on Etsy as soon as I can.

I’ve already got plans for my next fairy house, and yes, there will be a dragon 😉

~Michelle

Shop CreativeCritters on ArtFire

Shop CreativeCrittersClay on Etsy

Find Michelle of CreativeCritters on Facebook

Gallery

Work in Progress- Polymer Clay Fairy House

I thought I’d share my current project here. It’s been a while since I made any miniature houses, and all these empty glass spice jars have just been begging to be turned into something cool.

I started out with the glass spice jar, then formed a base from aluminum foil. The roof base is made from cardboard. I added a cardboard peak to the top of the jar so I’d have a nice support for the roof. I coated the cardboard and the aluminum foil with Tacky glue to help the clay adhere better.

Then I covered the base with green clay and wrapped the house with a layer of tan clay. I added a stripe of dark brown for the walkway. I gave the house a blue door and blue window frames. I also added glow in the dark clay to the upstairs windows. A large silvery gray stone serves as the front step (soon to be occupied by a golden dragon!).

The back of the house features two oval windows, with the upstairs one filled with glow in the dark clay.

I covered the roof with a thin sheet of clay, then added all the shingles.

Here you can get a better look at the shingles. All my little clay cutters come in really handy for projects like these!

And of course my furry little supervisor Calcifer has been overseeing the whole project 😉

Be sure to check back and see how this project turns out! Next I’m on to the landscaping, which is always fun.

Thanks for stopping by!

~Michelle

Shop CreativeCritters on ArtFire

Shop CreativeCrittersClay on Etsy

Find Michelle of CreativeCritters on Facebook