Gallery

Christmas Gifts 2020- Blue Ornaments

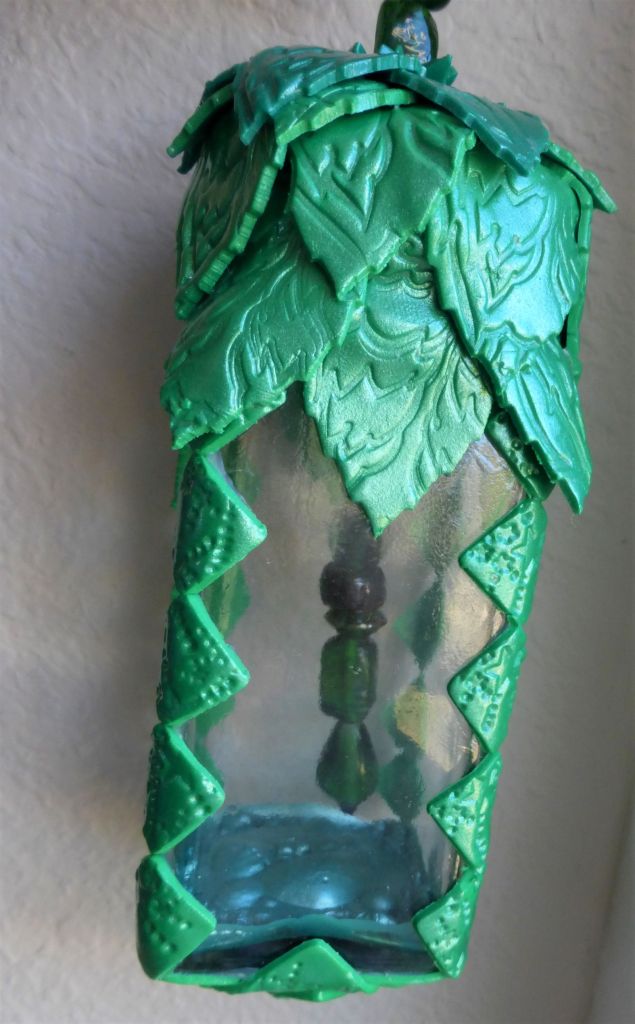
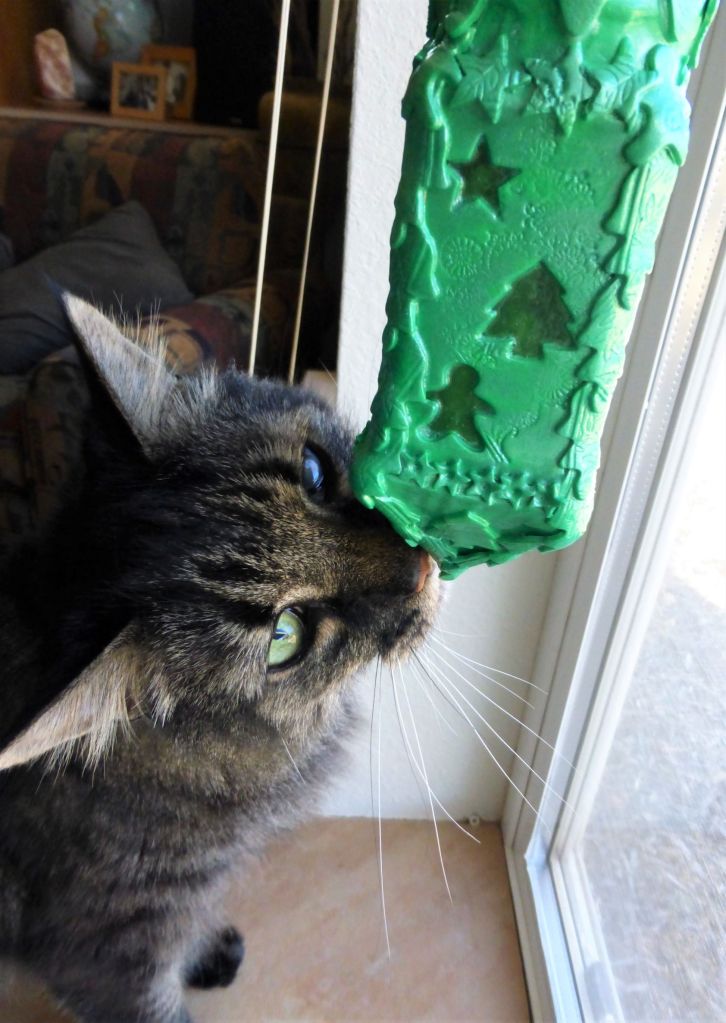
Today I’m sharing the set of blue Christmas ornaments I made. As with the red and green ornaments, I made these by adding polymer clay to a glass spice jar.

blue polymer clay covered glass Christmas ornament

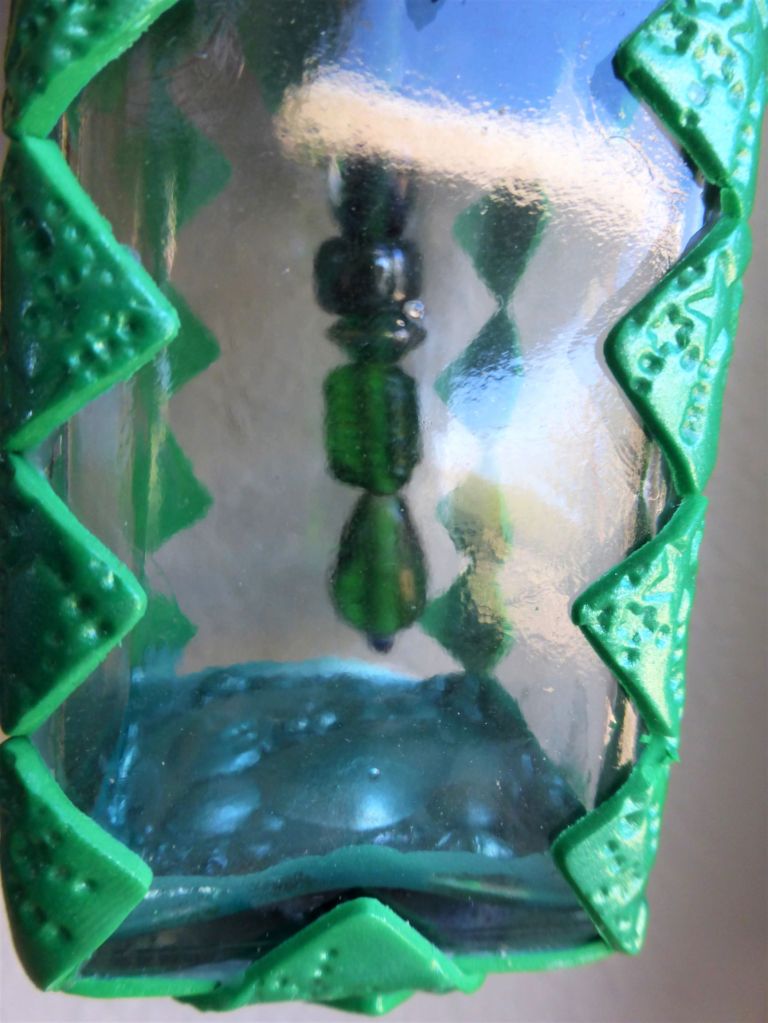
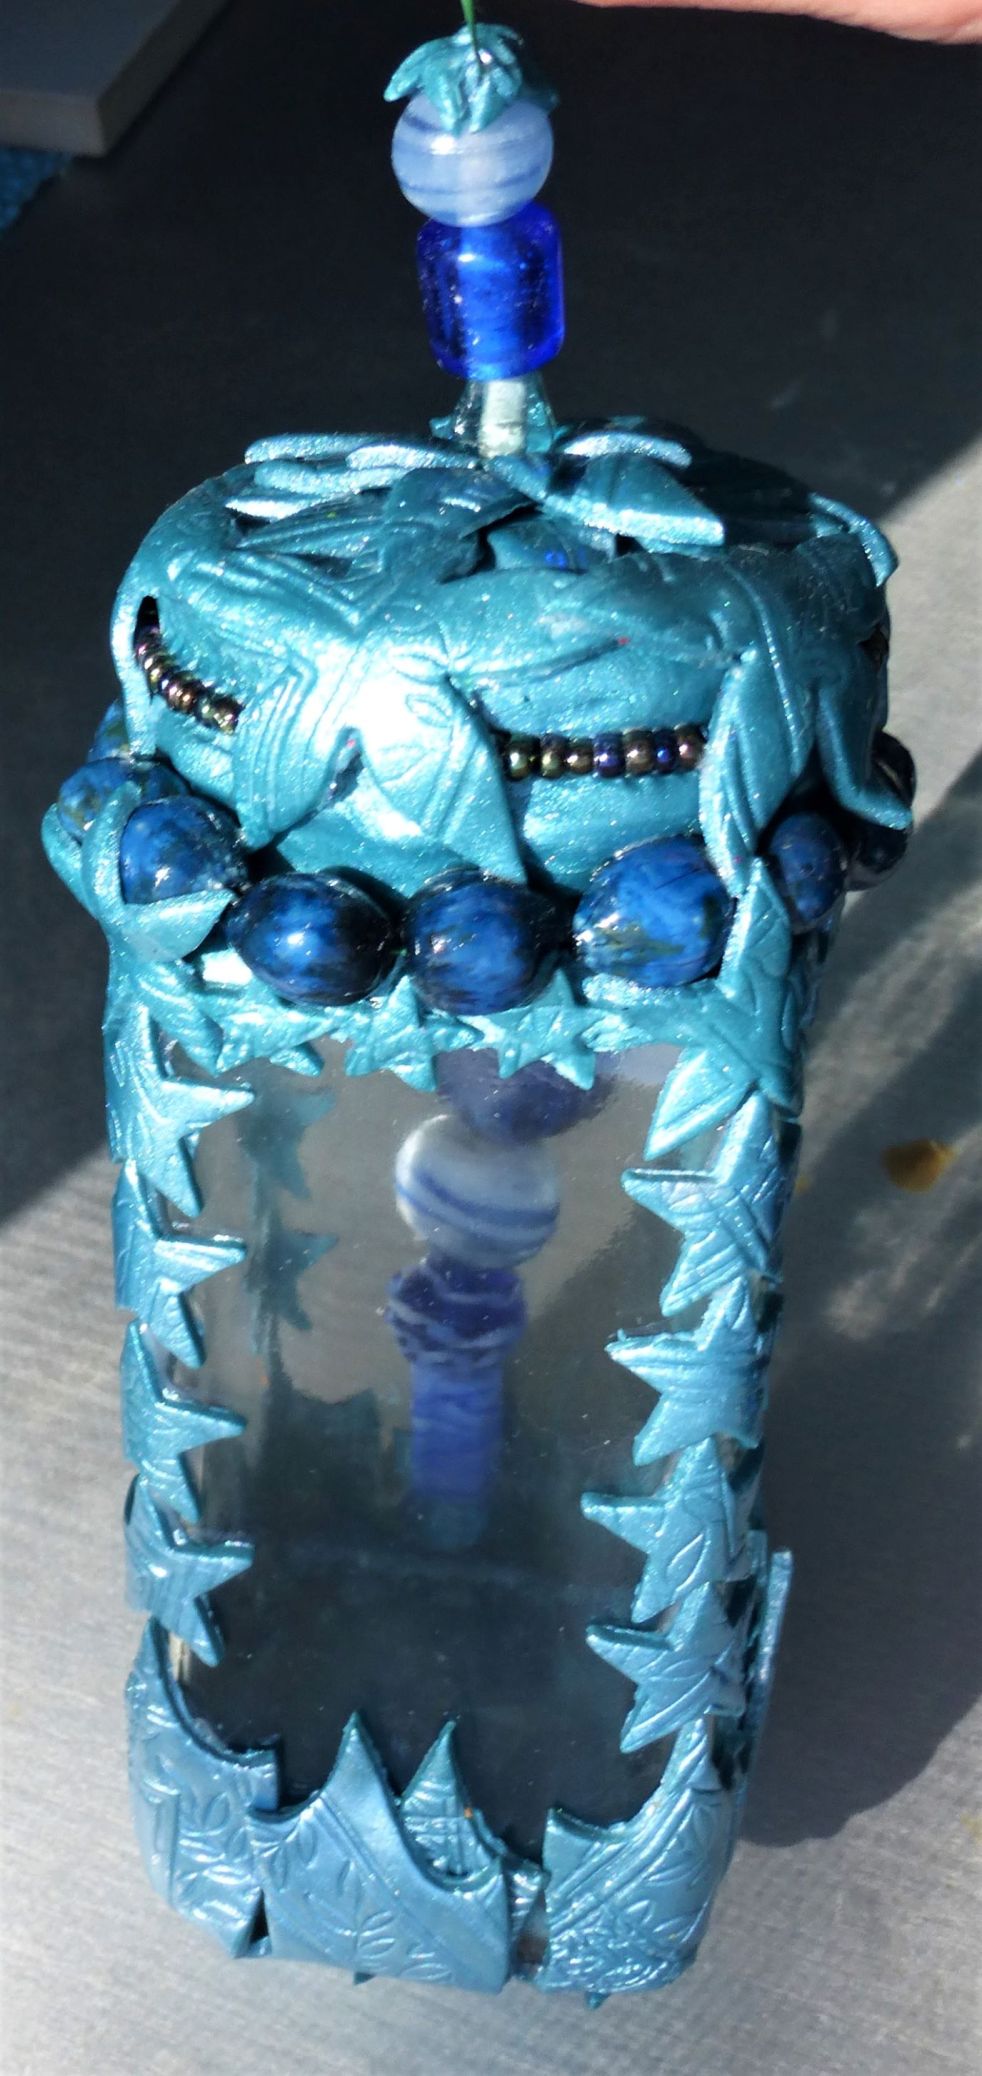
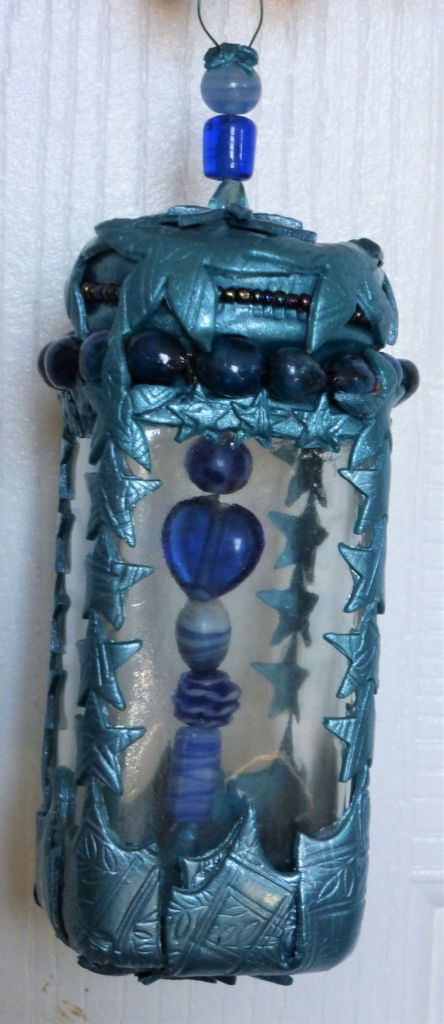
For this ornament I strung together several pretty blue glass beads and hung them inside the jar. These ornaments are just beautiful hanging in a window, or with a Christmas light behind them.

bottom of ornament

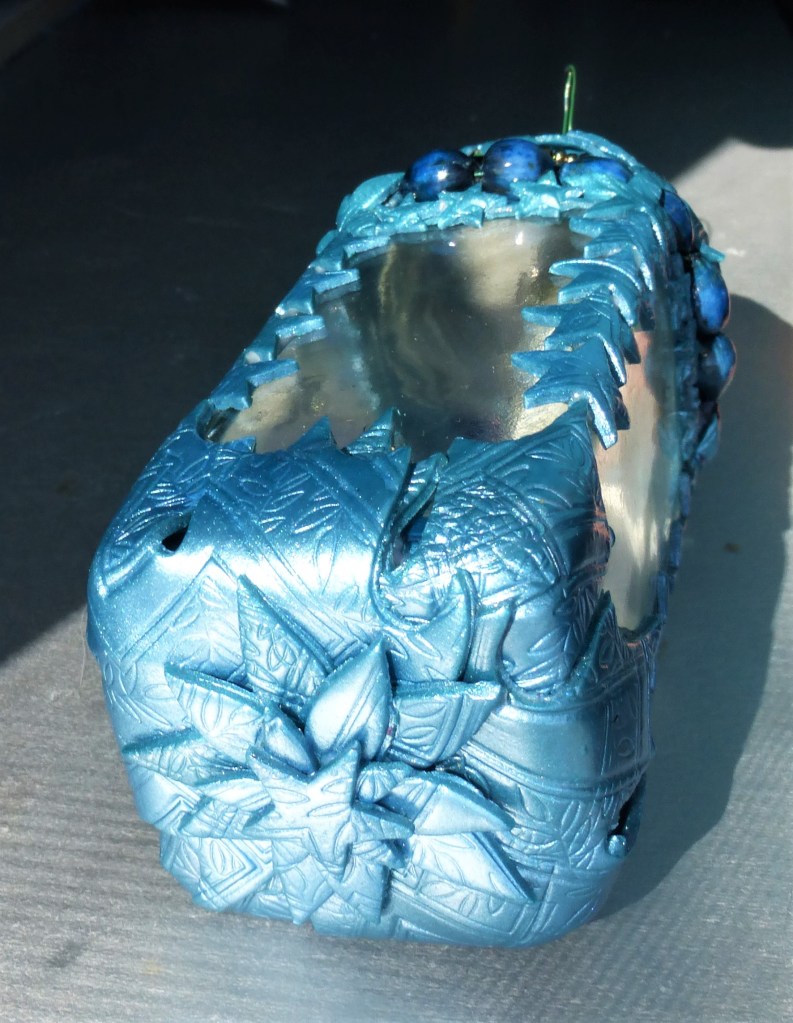
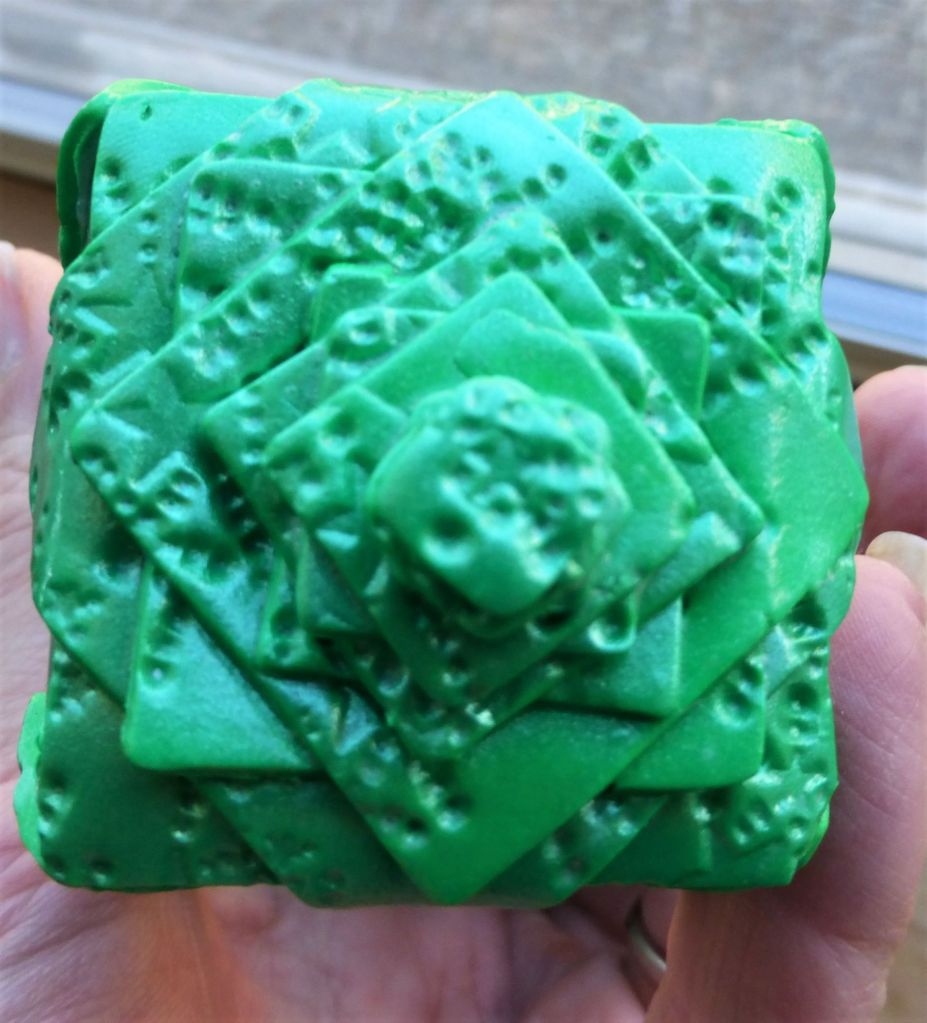
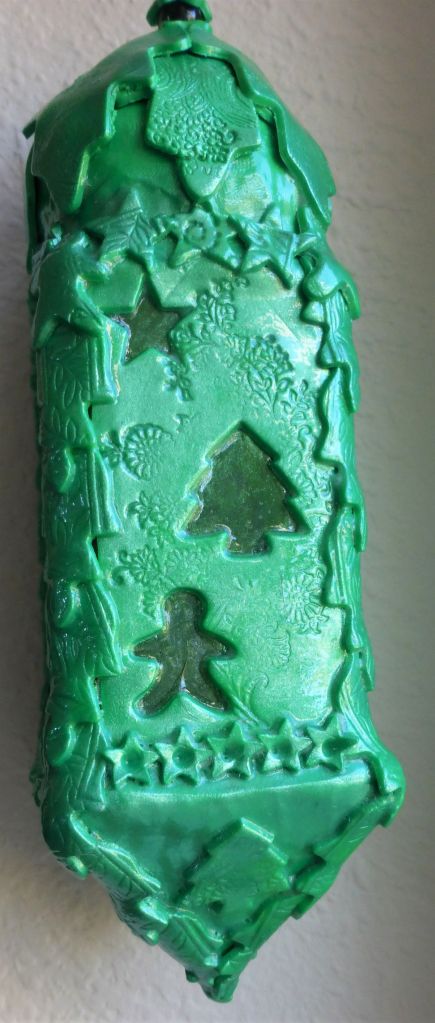
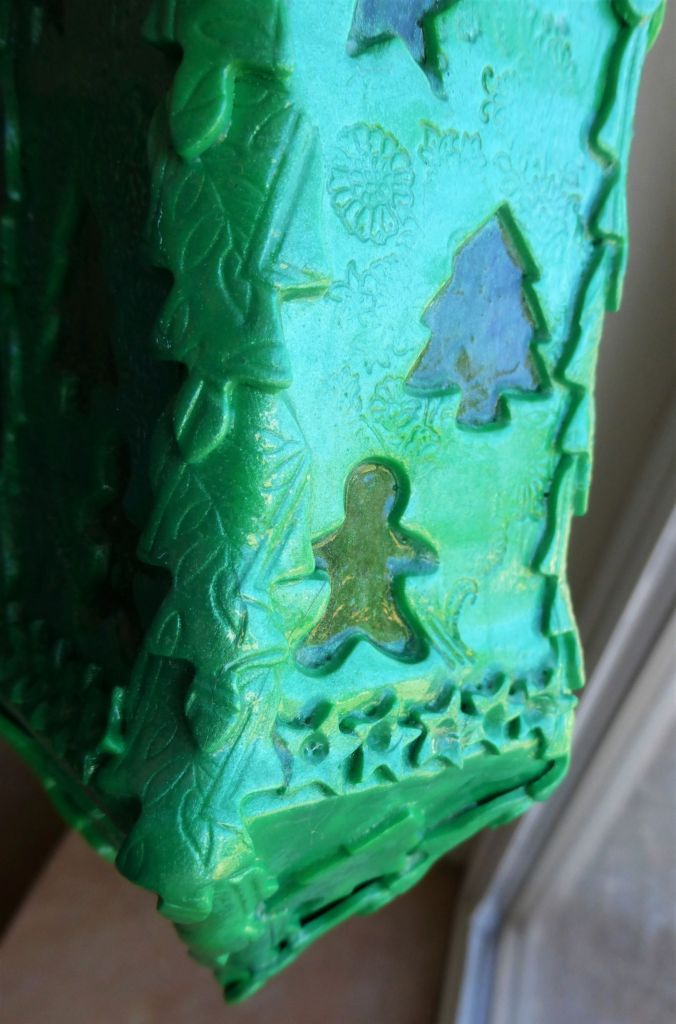
For the bottom of the ornament I used my large Maple leaf cookie cutter and cut out several leaves which I stamped and colored with metallic blue Pearl Ex powder. I overlapped the leaves on the bottom of the jar and then layered star shapes over that.

top of ornament

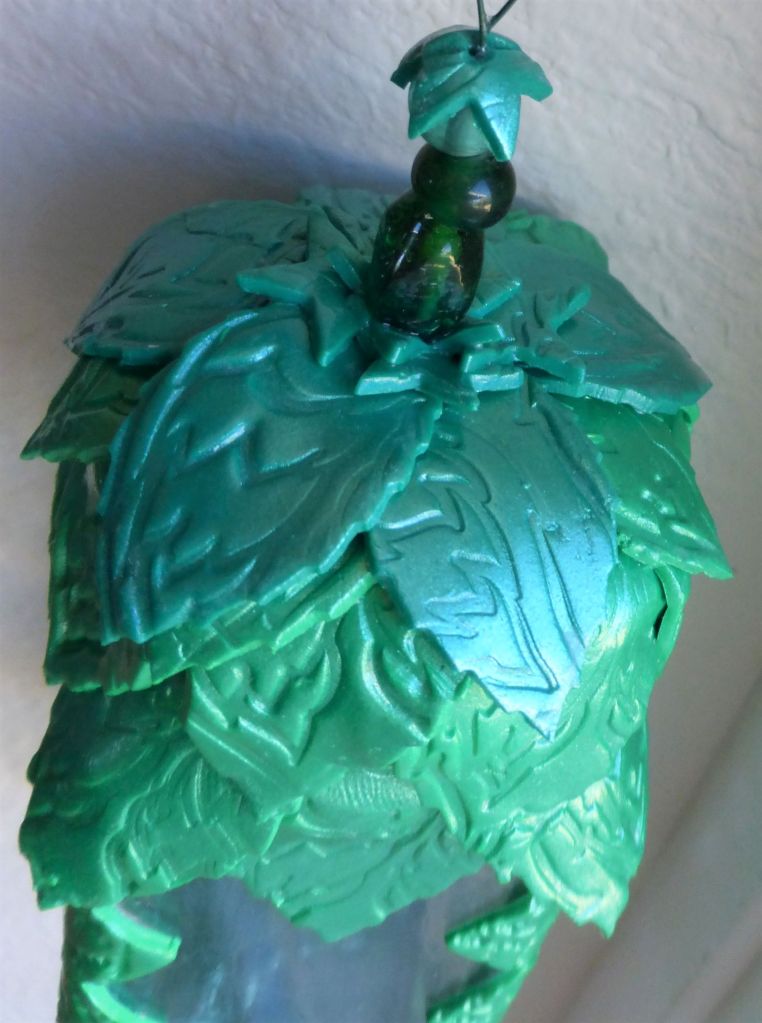
I layered textured star shapes over the top of the ornament as well. On this one I added a string of metallic seed beads and a string of blue seed pods. Half the fun of making these ornaments is sifting through my bead and broken jewelry stash to find just the right beads. These seed pods came from a really cool necklace and they’ve found their way into several of my creations 😉

blue ornament

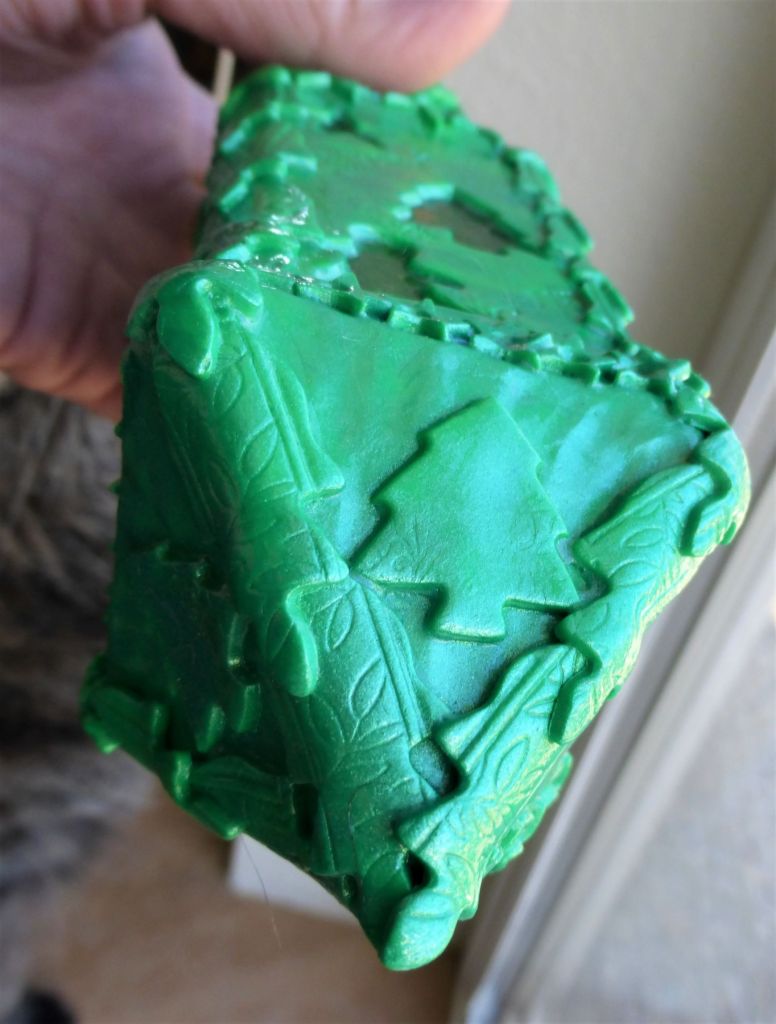
I used Tacky glue to help adhere the textured stars on the corners of the jar. Tacky glue works really well with baked and unbaked polymer clay.

Christmas ornament with blue flowers

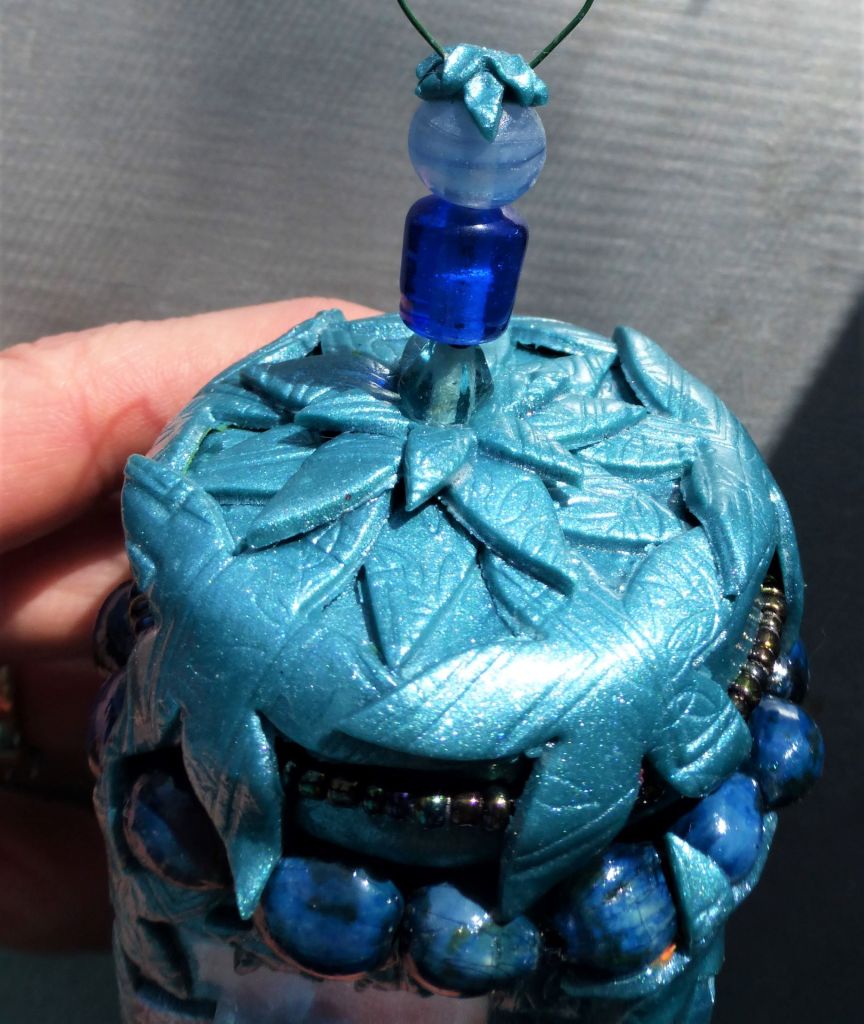
For this ornament I made good use of some of my flower cutters. I love using cookie cutters and cake decorating cutters with polymer clay 🙂

top of ornament

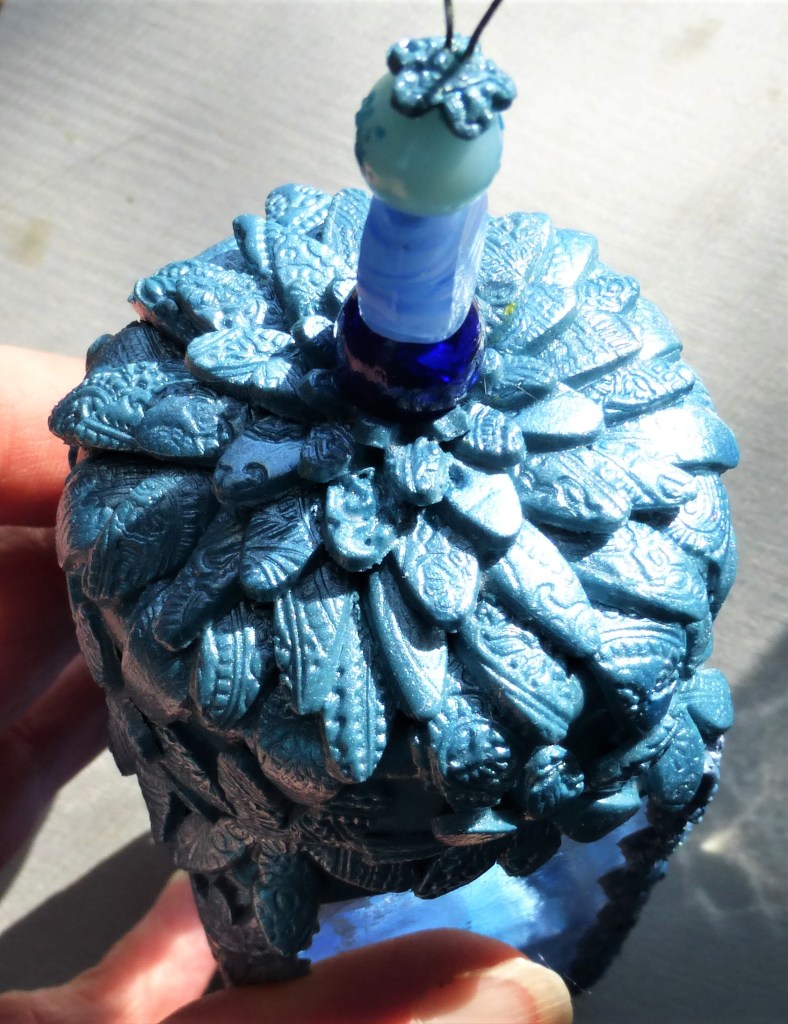
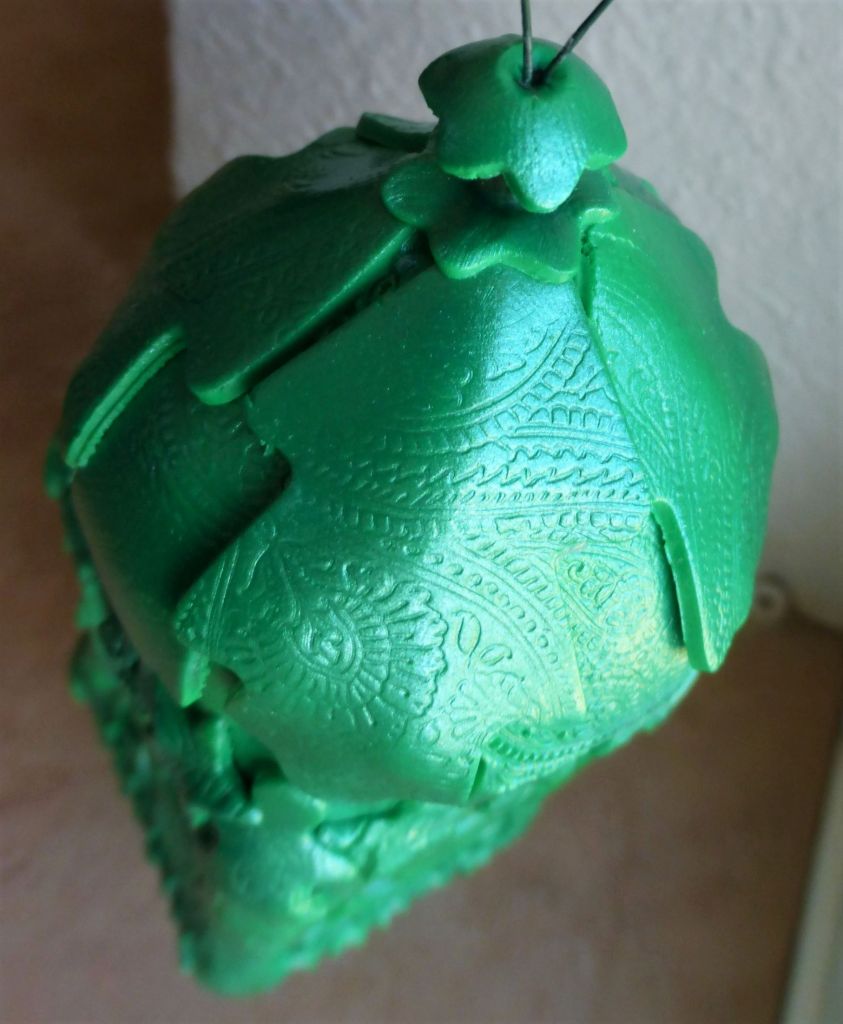
For the top of this one I layered flowers in decreasing size. First I brushed the flattened sheet of clay with blue Pearl Ex powder, then I used an intricate Victorian filigree stamp to impress a pretty design, then I cut out the flower petal shapes. Brushing the clay with Pearl Ex powder before stamping it helps to keep the clay from sticking to the stamp.

side of ornament

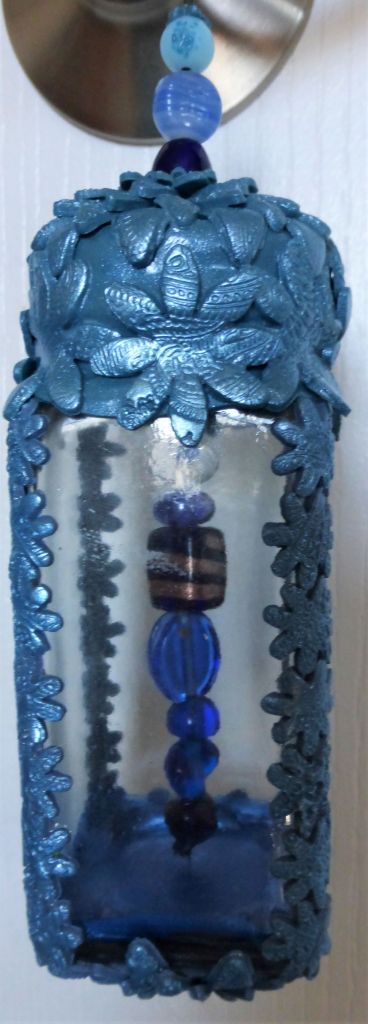
I added flowers around the top and down the sides as well. Once again I used Tacky glue to help adhere the unbaked clay to the glass.

bottom of ornament

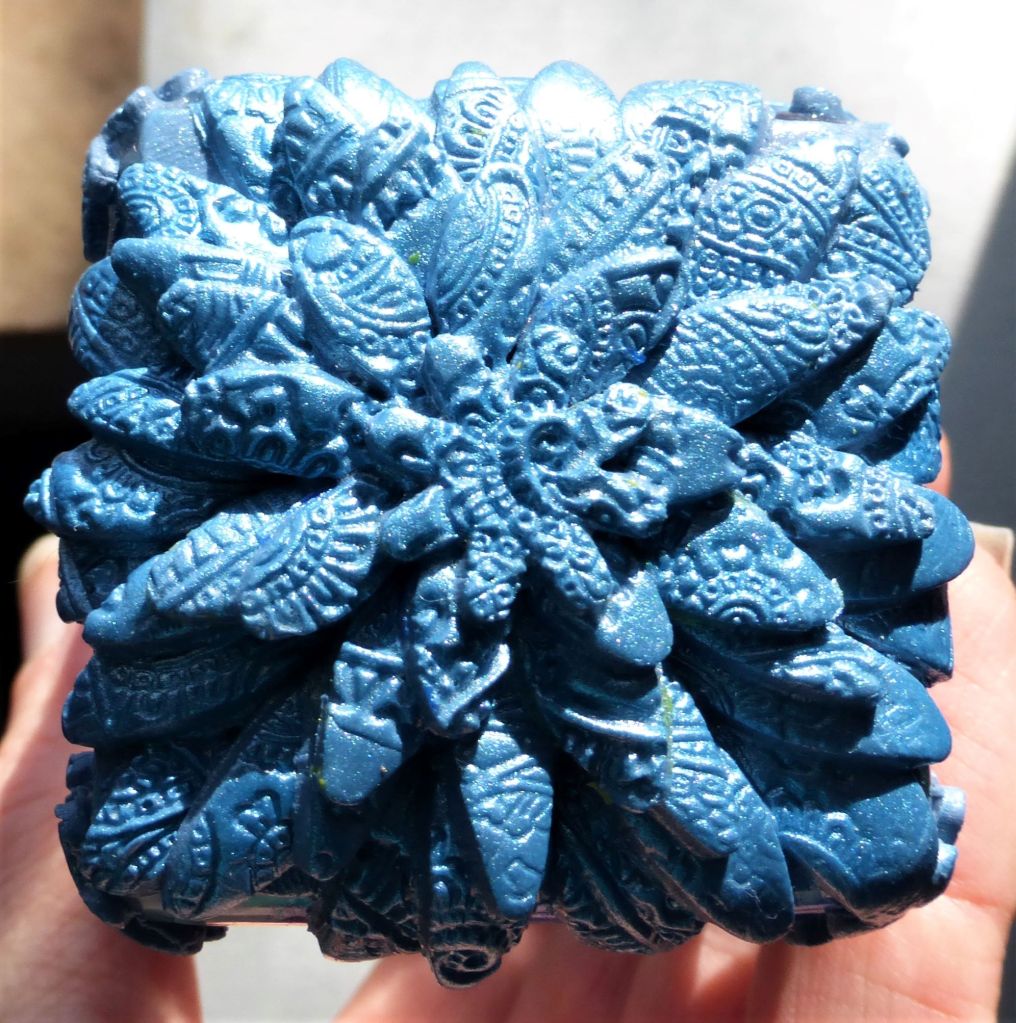
I stacked more daisy flower petal shapes on the bottom of the ornament. I love the way the Pearl Ex powder helps the stamped design to stand out.

So that’s it for the ornaments for now, although I’m sure I’ll be making more of these. Projects like these ornaments allow me to explore my creativity and experiment with different techniques. 🙂

Thanks for stopping by!

~Michelle

Shop CreativeCritters on ArtFire

Shop CreativeCrittersClay on Etsy

Find Michelle of CreativeCritters on Facebook

Gallery

Christmas Gifts 2020- Green Ornaments

I just wanted to share more of the Christmas ornaments I made this year. I made a set of green ornaments using glass spice jars for the base. I just KNEW I’d find a use for all those spice jars I’ve been saving!

Green polymer clay covered glass Christmas ornament

For this one I painted the bottom of the spice jar from the inside to cover up the stamped lettering on the bottom of the jar. I used a pretty sparkling teal acrylic paint, which I think goes nicely with the green polymer clay.

Top view of the ornament

Using my leaf shape cutters from my cake decorating set I cut out leaf shapes, rubbed them with green Pearl Ex powder, then stamped them for an interesting texture. Then I layered them over the top of the jar. For the top layer of leaves I used more of a teal blue green Pearl Ex powder. This matches the paint on the inside of the jar nicely (plus I love that color 🙂 )

glass beads hanging inside the ornament

I picked out several green glass beads and hung them inside the ornament. These ornaments look especially pretty hanging in front of a window with the sunlight shining through.

bottom of the ornament

On the bottom of the ornament I layered squares of green polymer clay which was also rubbed with Pearl Ex powder and stamped.

clay covered ornament with Christmas tree and gingerbread man cutouts

The second green ornament was made by first painting the glass spice jar with green sparkle paint then completely covering the jar with clay. I rubbed the clay with green Pearl Ex, then cut out Christmas tree and gingerbread man shapes.

top of the ornament

I cut out large leaf shapes, dusted them with Pearl Ex, then stamped them with pretty floral designs before layering them over the top of the ornament.

detail view of ornament

I added stamped leaf shapes, stars, and the cut out Christmas trees along the bottom and sides of the ornament.

bottom of the ornament

Before painting the glass, the very first step was to add a cardboard armature to make the bottom come to a point. Then I was able to cover the bottom with more stamped leaf shapes.

Calcifer Kitty inspects the final product

Of course I had my fluffy supervisor to oversee the whole project 😉 Calcifer has to inspect everything I make- it’s his job after all!

Thanks for stopping by to check out my handmade Christmas ornaments!

~Michelle

Shop CreativeCritters on ArtFire

Shop CreativeCrittersClay on Etsy

Find Michelle of CreativeCritters on Facebook